
Make your own pizza buns: Crispy & filled
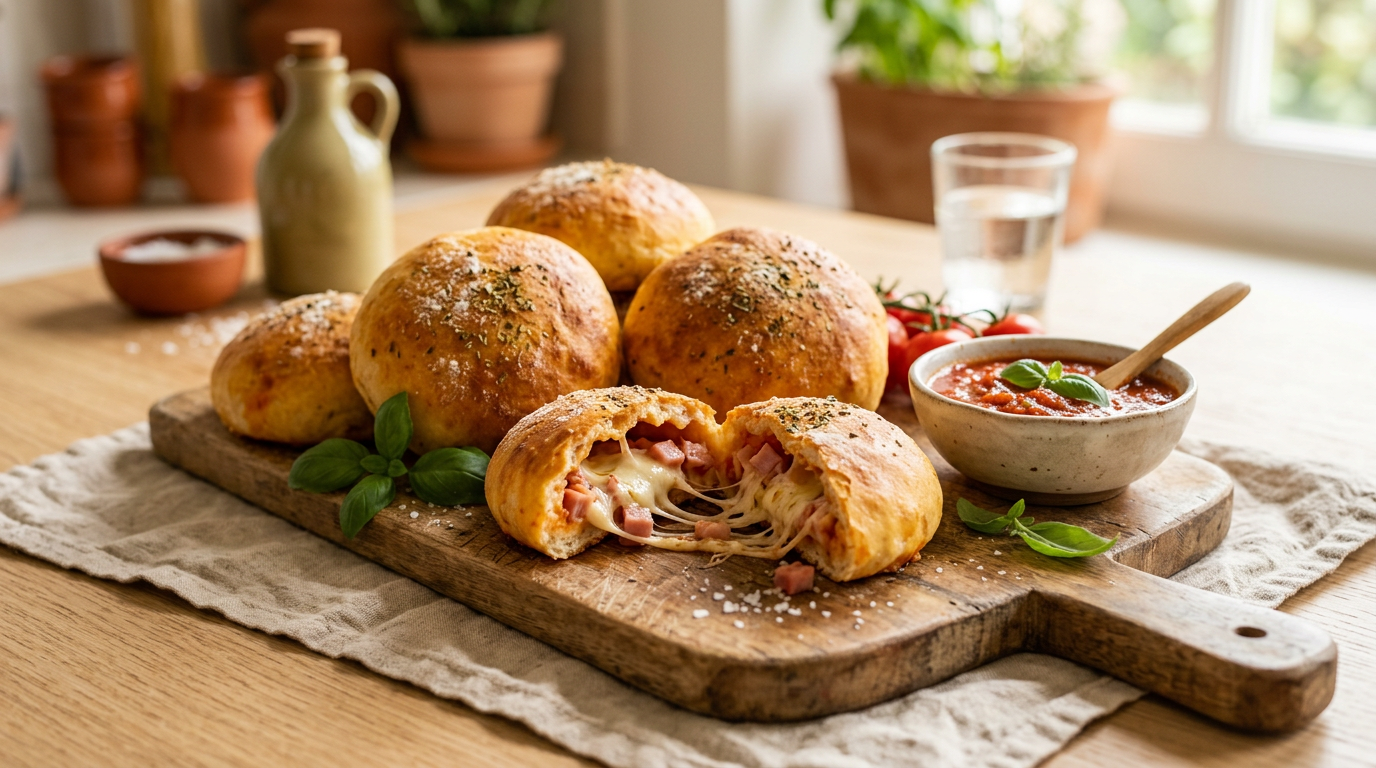
Fragrant, juicy, and outrageously delicious: If you want to make pizza rolls yourself, you bring the unmistakable aroma of an Italian trattoria straight into your own kitchen. With a heavenly filling of delicately melting cheese, the finest ham, and aromatic herbs, this classic snack comes together in no time for cozy family evenings, movie nights, or your next party buffet.
The perfect dough: Fluffy, elastic and full of flavor
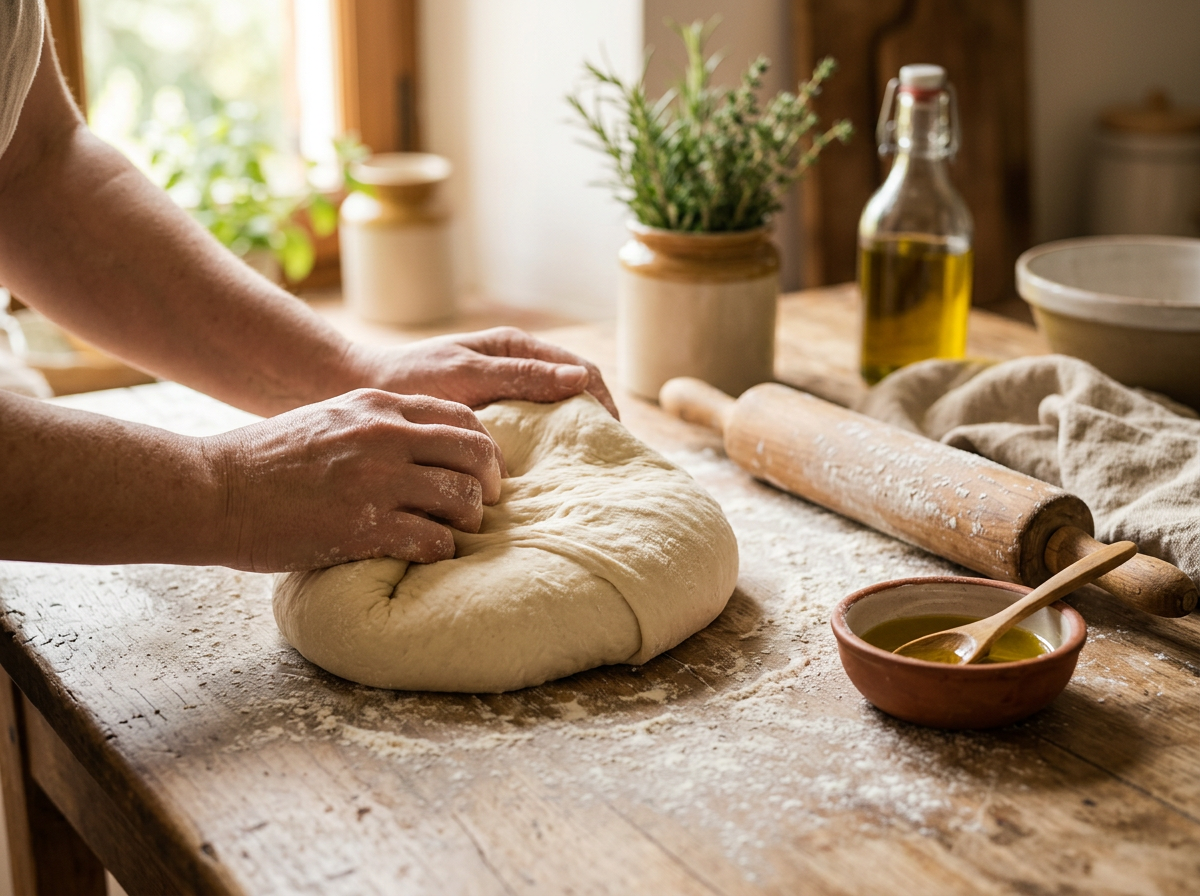
Every unforgettable pizza roll starts with a solid foundation: yeast dough. A good dough gives the rolls a wonderfully tender crumb, a sturdy hold for the juicy filling, and that crispy, browned exterior that crunches so delightfully when you bite into it. Making the dough from scratch lets you experience the passion of true artisanal baking, while high-quality organic ready-made doughs from the refrigerated section are pure magic on busy weekdays.
For a classic Italian yeast dough, you only need five basic ingredients: fine wheat flour (ideally Italian Tipo 00 with a high gluten content for maximum elasticity), lukewarm water, a drizzle of extra virgin olive oil, sea salt, and fresh yeast. A teaspoon of honey or raw cane sugar activates the yeast and ensures particularly vigorous fermentation. After kneading, let the dough rest for at least 45 to 60 minutes in a warm, draft-free place. During this time, it will double in size and develop fine fermentation bubbles, which later ensure its characteristic airiness.
When time is short or the kids come bursting into the kitchen after school, you can easily reach for ready-to-bake doughs from the Knuspr chilled section. Discover our selection in the Fresh doughs category. Fresh pizza dough on baking paper can be unrolled, filled, and popped straight into the oven without any waiting time. In terms of flavor, the result is in no way inferior to dough that has been kneaded for hours.
Baker's secret tip: If you prepare your dough the evening before and let it rise slowly overnight in the refrigerator with just 2 grams of yeast, it develops an incomparably deep flavor. The long cold fermentation makes the dough especially digestible and elastic.


The melt guarantee: Which cheese gives the best cheese pull?
The most exciting moment when enjoying stuffed pizza rolls is breaking them open for the first time. When the hot steam rises and the melted cheese core stretches into long, creamy strings, any foodie's heart beats faster. But not every cheese behaves the same inside an enclosed dough crust. To avoid a soggy disappointment while achieving ultimate flavour, it is worth paying close attention to the cheese varieties and their moisture content.
Classic ball mozzarella in brine contains a lot of moisture. If diced and added carelessly, the releasing water can make the dough soggy from the inside and, in the worst case, burst the seam open. The perfect solution for pizza rolls is firm, grated mozzarella (fior di latte for pizza) or a well-balanced combination with savoury grated cheese. Take a look directly at our wide selection under Grated cheese.
For maximum depth of flavour, a blend of two cheeses is recommended. A mild cheese with exceptional melting properties like mozzarella forms the stretchy base, while an aromatic variety like Gouda or Emmental adds savoury flavour. This creates the rich comfort-food taste you know from your favourite pizzeria.
Fior di Latte Mozzarella
Firm and dry grated. Provides endless strings of cheese and a mild, creamy aroma without making the dough base soggy.
Medium-aged Gouda
Melts creamily with a pleasant nutty tang. Gives the ham filling the necessary depth of flavour.
Savoury Emmental
Bold character and fine melting properties. Perfect for anyone who appreciates a rustic, savoury note.




Savory fillings: Juicy ham meets Mediterranean herbs
Alongside cheese, ham is the undisputed star of this recipe. It provides juicy flavor, a delicate meaty aroma, and pairs flawlessly with dried oregano and a pinch of garlic. The art of a perfect filling lies in the harmonious balance of all components, ensuring that every bite remains juicy and no single ingredient overpowers the others.
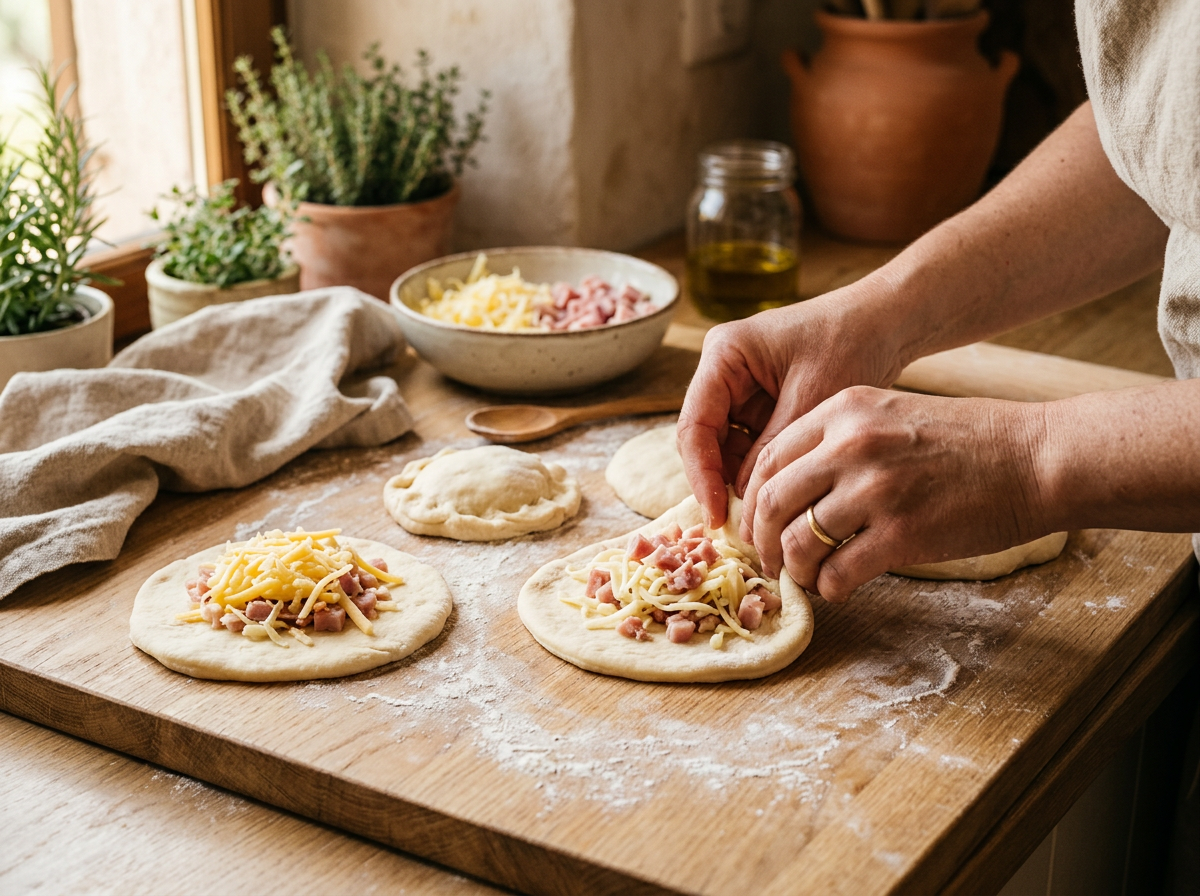
High-quality cooked ham or Italian prosciutto cotto is ideal for the filling. Cut the slices of ham into even, small cubes of about five millimeters. Small cubes distribute optimally within the dough pocket as the cheese melts, so you enjoy the full flavor with every bite. Whole slices of ham tend to slide out all at once when you take a bite. You can find a fresh selection in the Cooked Ham category.
Before filling, mix the diced ham directly with the grated cheese and dried herbs in a bowl. If you like, refine the mixture with a tablespoon of sour cream or ricotta. This binds the filling, keeps the meat wonderfully juicy, and prevents the ham from drying out in the high oven heat.
If you are expecting vegetarian guests, simply replace the ham with finely chopped sun-dried tomatoes, marinated artichoke hearts, or savory olives. The basic principle remains exactly the same: juiciness from cheese and intense flavor from Mediterranean aromas.


Folding Technique and Shaping: No Leaking, Maximum Crispiness
The greatest challenge when baking stuffed pizza rolls is sealing the dough tightly. Nobody wants to watch the precious cheese drip uncontrollably onto the baking sheet and burn there while the roll ends up hollow inside. With proper handling and a simple folding technique, all the juices and tenderly melting cheese remain safely sealed inside.
Portioning and Flattening
Divide your dough into equal pieces of about 40 to 50 grams. Using the palms of your hands, press each ball into a flat, round dough disc approximately 8 to 10 centimeters in diameter. Make sure the edges are slightly thinner than the center so that the base remains sturdy.
Placing the Filling in the Center
Place about one heaping tablespoon of the ham and cheese mixture right in the center of each dough circle. Leave a clear border of at least two centimeters all around. Avoid touching the edges with greasy fingers so the dough seals without any issues.
Forming Bundles and Twisting Tightly
Gather the dough edges upward like a small pouch. Press the dough ends firmly together using your thumb and index finger, and twist the seam slightly to seal it completely.
Placing Seam-Side Down on the Baking Sheet
Place each filled roll seam-side down onto a baking sheet lined with baking paper. The roll's own weight will reliably keep the seam closed while baking. Let the dough balls rest for another 10 minutes before baking.
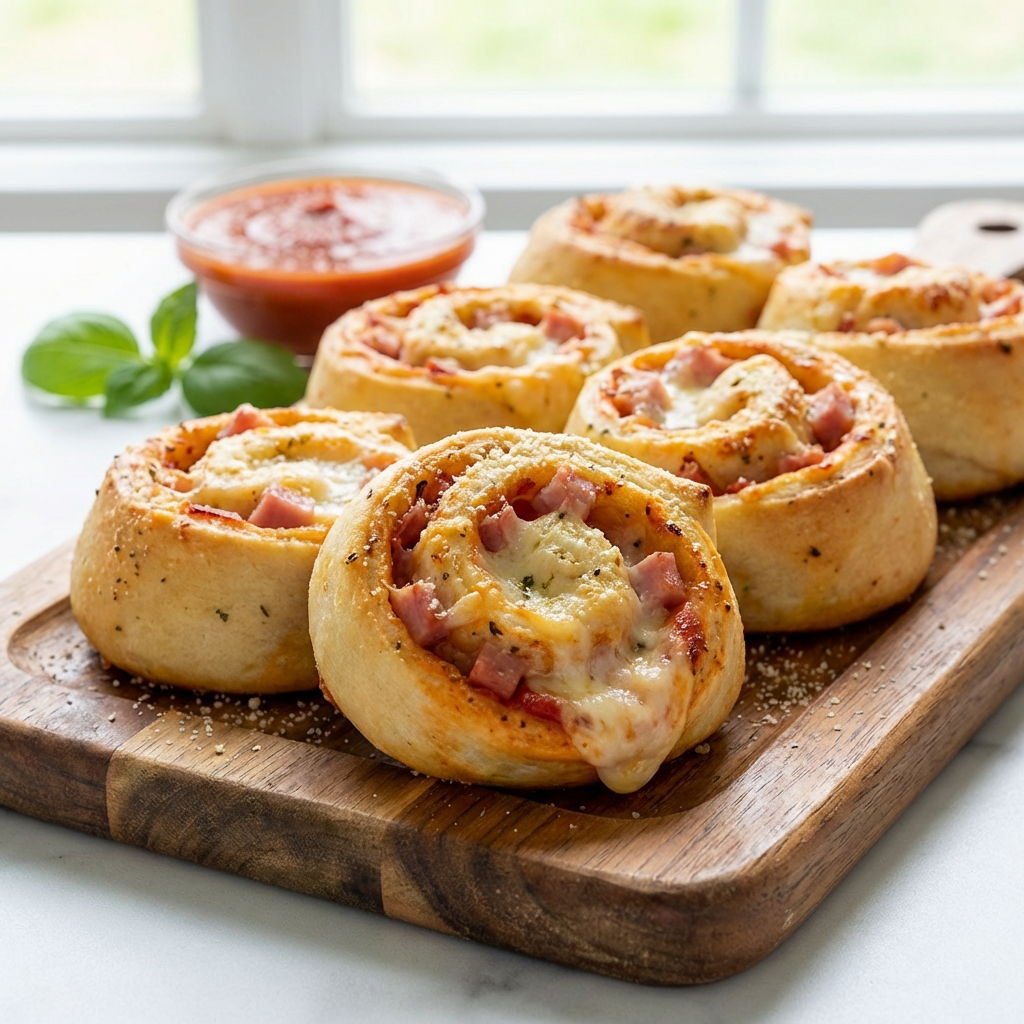
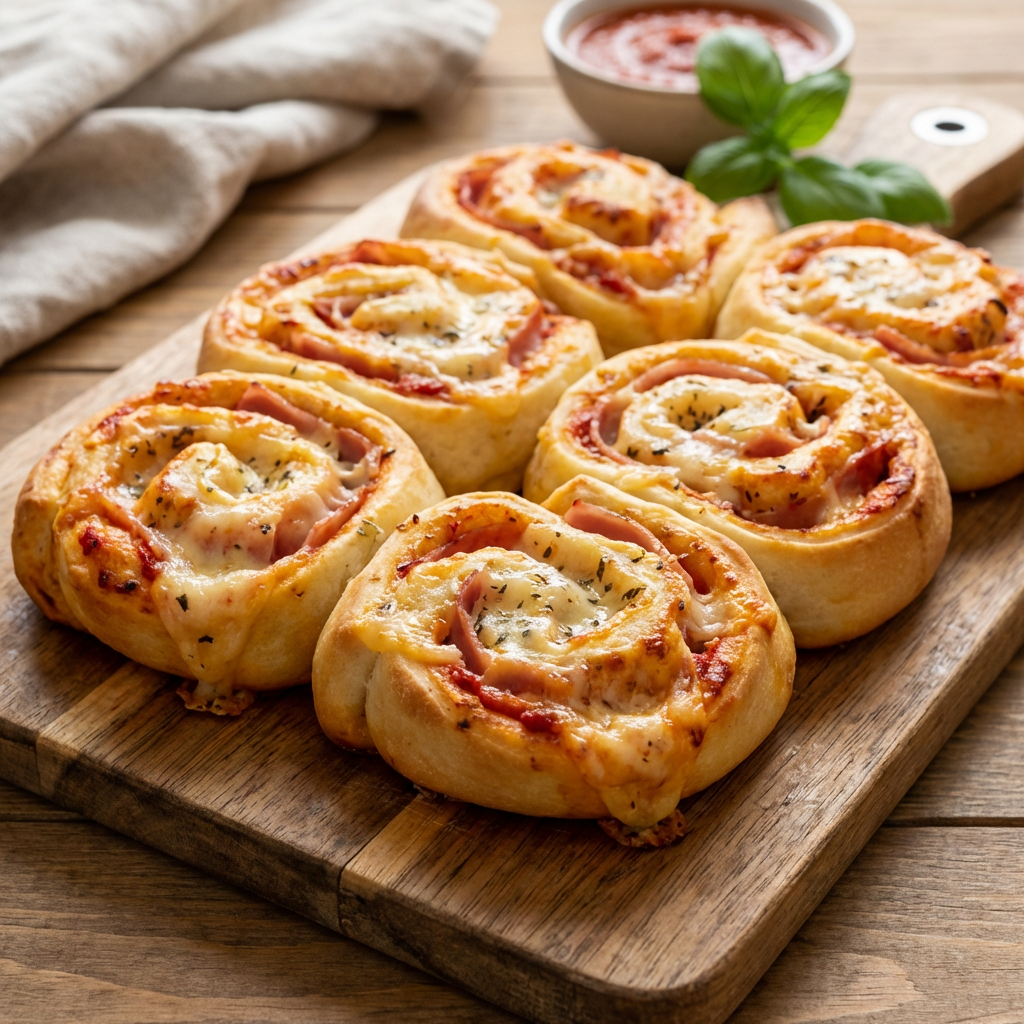
An alternative method is the pinwheel technique: roll out the pizza dough into a large rectangle, spread it thinly with herb butter or tomato sauce, sprinkle it evenly with ham and cheese, and roll it up tightly. Then slice the dough roll into two-centimeter-thick slices. This creates crispy pizza pinwheels where the filling visibly caramelizes on the outside.
Heat and Timing: The Oven Master Plan
Pizza baked goods require intense, direct heat. A hesitantly preheated oven leads to pale, dry rolls that quickly lose their freshness. The goal is a short, intense baking phase in which the dough rises rapidly, moisture stays inside the core, and the crust takes on a deep golden colour with delicate crispy bubbles.
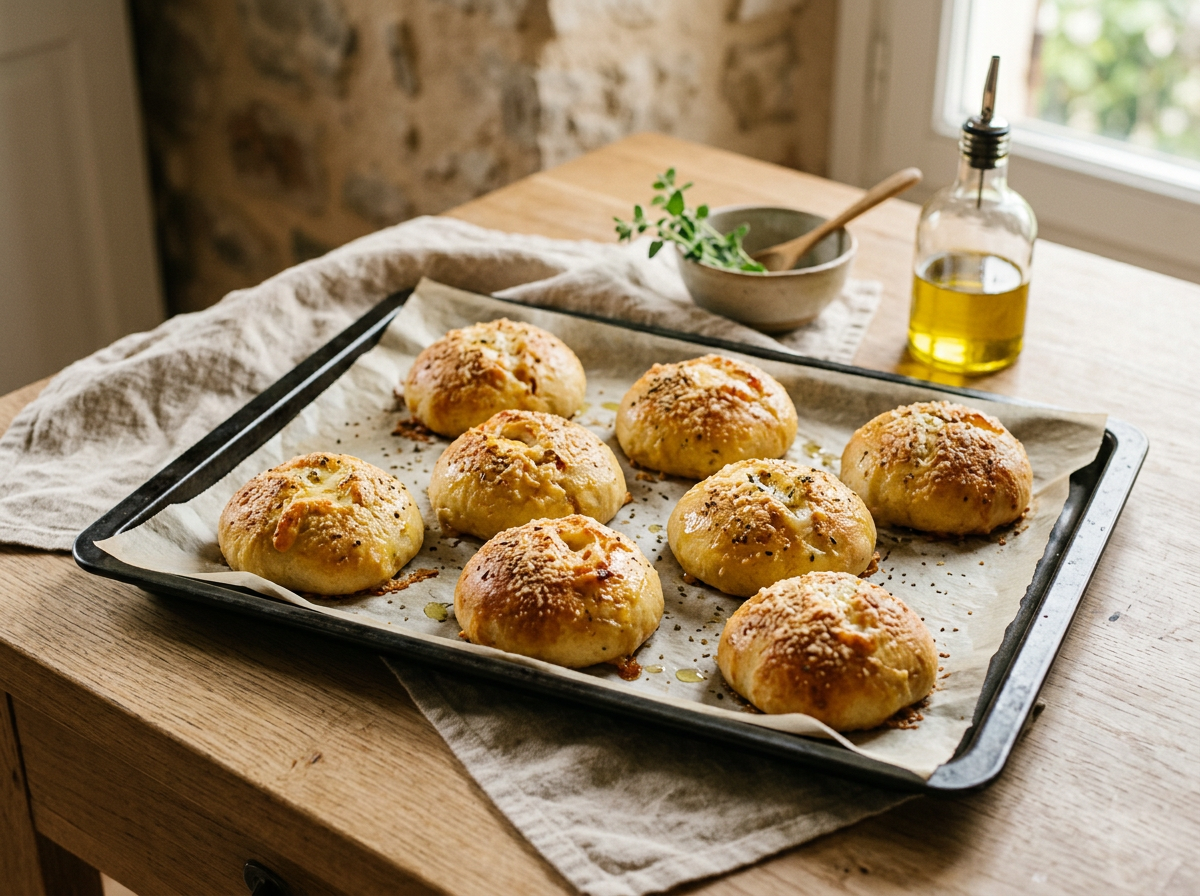
Preheat your oven thoroughly to 220 degrees top and bottom heat (or 200 degrees fan). If you leave a baking sheet or pizza stone in the oven on the middle rack while preheating, the dough portions will benefit from an immediate burst of heat from below. Carefully slide the baking paper with the rolls onto the hot baking sheet.
The ideal baking time is between 12 and 15 minutes. Watch the rolls closely during the final minutes: as soon as the surface is evenly browned and the aroma of roasted grain and melted cheese fills the kitchen, take the tray out. Brush the hot rolls immediately with a little virgin olive oil or melted herb butter. This gives them a shiny look and keeps the crust wonderfully tender.
Checklist for the perfect bake
- Preheat the oven thoroughly: At least 15 minutes at 220 degrees top and bottom heat.
- Keep your distance: Leave about 3 centimetres of space between the rolls on the tray to rise.
- Water bath effect: A heatproof cup of water on the bottom of the oven generates steam and makes the crust wonderfully crispy.
- Finish with a shine: Brush with herb butter or flavoured olive oil immediately after baking.